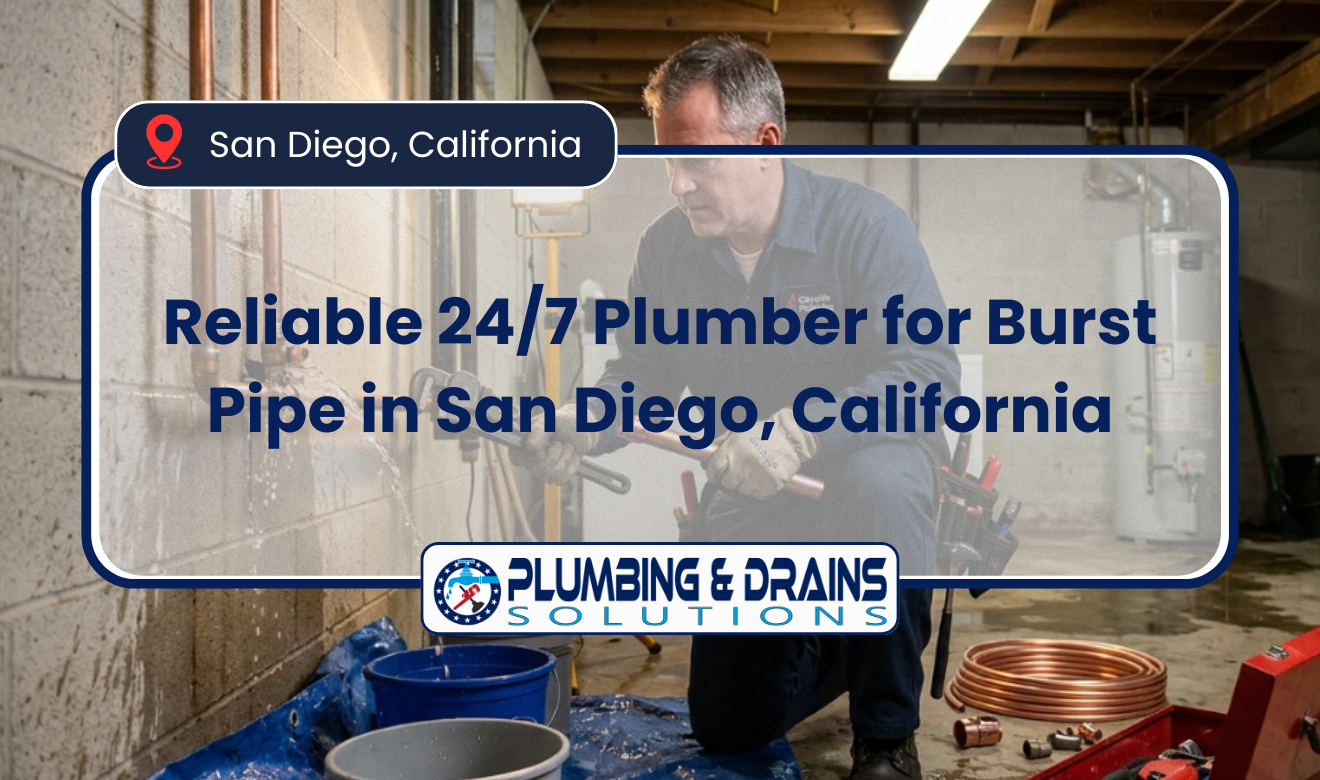
Executive Summary
A burst pipe in San Diego is resolved by immediate water isolation at the meter/house main, rapid verification of the rupture location using non-destructive diagnostics, and a California Plumbing Code-compliant repair (typically replacing the failed section with properly joined copper or PEX and pressure-checking before close-up). The definitive outcome is stopping active flooding fast while minimizing demolition, restoration scope, and repeat failure risk.
Core Insights
- Stop Flow First: Closing the correct main shutoff at the meter box and depressurizing the system prevents rapid escalation into electrical hazards, structural damage, and mold risk.
- Verify Before Cutting: Acoustic detection, thermal imaging, moisture mapping, and isolation testing pinpoint the burst zone so repairs don’t require unnecessary drywall, tile, or slab demolition.
- Repair to Code and Document: Replacing the damaged pipe with listed materials and approved fittings, pressure-testing the repair, and capturing photos/notes supports durable performance and smoother insurance or mitigation claims.
A 24/7 plumber for burst pipe San Diego is an emergency licensed plumbing professional who can isolate water flow, stop active flooding, and complete a code-compliant repair at any hour. In San Diego, a burst often shows up as sudden pressure loss, water staining on drywall, or a fast-rising water meter when all fixtures are off. Common local failure points include aging galvanized lines in older neighborhoods, slab-leak blowouts under concrete foundations, and CPVC fractures near water heaters in garages. Immediate on-site steps should include shutting the main at the meter box, opening the lowest faucet to drain lines, and verifying the rupture zone with acoustic leak detection or a thermal scan before cutting. A proper repair typically involves removing damaged pipe, installing new copper or PEX with approved fittings, pressure-testing the section, and documenting the fix for future insurance or mitigation needs. High-risk locations include exterior hose bib runs exposed to night cooling, irrigation backflow assemblies, and second-story supply lines that can dump water into ceilings and wall cavities within minutes.
What Makes a Burst Pipe an “Emergency” in San Diego Homes
A burst supply line is treated as an emergency because it can discharge dozens of gallons per minute into walls, ceilings, or slabs and quickly create structural and mold risk. In most cases, the correct response is immediate isolation of the water source, followed by verified location and code-compliant repair.
Unlike a slow leak, a rupture typically produces one or more of these measurable indicators:
- Rapid pressure drop at multiple fixtures (hot and cold) at the same time.
- Meter activity with all fixtures off (the leak indicator triangle or sweep hand continues moving).
- Visible water discharge at a wall penetration, garage ceiling, under a vanity, or at a hose bib.
- Ceiling sagging or bubbling paint from a second-story line releasing into cavities.
- Concrete wet spots or warm floor zones suggesting a slab-related failure.
In San Diego housing stock, burst events often correlate with:
- Galvanized steel deterioration (internal corrosion and restriction that weakens pipe walls).
- CPVC stress cracking (often near water heaters or where pipe is mechanically strained).
- Copper pinhole progression to split when a thin section finally fails under pressure.
Immediate Actions Before the Plumber Arrives (Damage-Limiting Checklist)
Fast, specific actions reduce water migration into framing and prevent electrical hazards. The goal is to stop flow, drain the system, and protect people and property while keeping the repair area accessible.
- Shut off the main water at the meter box shutoff valve (curbside). Turn the valve fully to the closed position.
- Open the lowest cold-water faucet (often a hose bib or laundry sink) to depressurize and drain lines.
- Shut off the water heater:
- Gas unit: set control to “OFF” (do not relight until water service is restored and the tank is full).
- Electric unit: switch off the breaker to prevent dry-firing elements.
- Cut power only if water is near electrical (panel, outlets, light fixtures). Use the main breaker if needed and safe to access.
- Contain and remove water with towels, wet/dry vac, or extraction equipment; move furniture and lift rugs.
- Document the scene with photos/video of the damaged area, meter reading, and affected materials for insurance and mitigation records.
If sewage is involved (e.g., an overhead drain line failure), avoid contact and stop using plumbing fixtures. In that scenario, the response shifts from supply isolation to drainage containment and sanitation protocols.
How an Emergency Plumber Verifies the Burst Location (Without Unnecessary Demolition)
Accurate location is the difference between a clean repair and avoidable wall/floor removal. A licensed professional typically confirms the rupture zone before opening finishes using non-destructive diagnostics.
Common verification methods used on San Diego properties include:
- Acoustic leak detection to identify turbulence and high-velocity discharge within pressurized lines.
- Thermal imaging to trace hot-water line anomalies through drywall, tile, or slab surfaces.
- Moisture mapping using pin and pinless meters to determine the wettest path and likely source.
- Isolation testing by valving branches (where accessible) and watching the meter to narrow the failure segment.
When the suspected failure is under a slab or behind tile, confirmation typically precedes any saw cutting. This reduces time-to-repair and limits restoration costs.
Code-Compliant Repair Standards Used for Burst Pipes in California
Repairs must restore safe potable water delivery and meet the enforceable plumbing code adopted by California jurisdictions. In San Diego, work must align with the California Plumbing Code (CPC) as adopted by the state and locally enforced by the Authority Having Jurisdiction (AHJ).
A compliant emergency repair generally includes:
- Proper material selection for potable water distribution (commonly copper tube or PEX where allowed and installed per listing and manufacturer instructions).
- Approved joining methods (e.g., solder/braze for copper as appropriate, listed press fittings, or listed PEX fittings and tools).
- Protection of pipe from damage when running through framing (nail plates at studs, abrasion protection at penetrations).
- Pressure testing of the repaired section before closing walls, when feasible, to confirm integrity.
- Workmanlike restoration of insulation and pipe supports/hangers to prevent future stress failures.
Because plumbing is a life-safety trade involving potable water, sanitation, and (often) gas adjacency, it is handled by a licensed professional using listed materials and methods consistent with the code adopted in California.
Repair Pathways: Spot Repair vs. Repipe vs. Slab Reroute
The right fix depends on pipe material, failure pattern, and access—not just the visible break. A plumber will typically recommend a targeted repair for an isolated incident, or a larger upgrade when the system shows predictable ongoing failure.
Decision factors that usually drive the recommendation:
- Pipe age and material (galvanized and early-generation plastics often justify broader replacement).
- Number of prior leaks (multiple repairs in a short time signals systemic deterioration).
- Location and accessibility (slab leaks under tile/concrete can be better addressed by rerouting overhead).
- Pressure conditions (high static pressure accelerates failure and may require regulation).
Typical approaches include:
- Spot repair: remove the damaged segment, install new pipe and fittings, then test.
- Partial repipe: replace a compromised branch (e.g., garage-to-kitchen run) while keeping sound piping.
- Full repipe: replace the majority of the domestic supply system when failures are widespread or materials are obsolete.
- Slab reroute: abandon under-slab runs and re-route through walls/attic where permitted and accessible.
If the rupture is tied to a slab event, many property owners compare repair options against long-term risk; in those cases, planning a repipe strategy may be more cost-effective than repeated concrete access.
San Diego-Specific High-Risk Burst Locations to Inspect First
Most residential bursts occur at predictable weak points where mechanical stress, temperature swings, or corrosion concentrate. A focused inspection sequence reduces time to isolation and repair.
Areas that commonly fail first:
- Water heater connections in garages (thermal cycling, rigid connections, CPVC brittleness, or seismic movement).
- Exterior hose bib and irrigation feed lines (night cooling and UV exposure on above-grade segments).
- Second-story supply lines above kitchens and living rooms (ceiling damage escalates quickly).
- Backflow assemblies feeding irrigation (components are exposed and can fracture or leak at unions/valves).
- Under-slab hot lines where a small leak can erode substrate and worsen into a larger failure.
For properties with older metallic piping, visible corrosion at shutoffs, angle stops, and exposed nipples is a strong indicator that hidden sections may be approaching end-of-life.
Emergency Service Workflow: What “24/7” Response Typically Includes
After-hours burst pipe calls are handled with a standardized sequence: make the site safe, stop water, verify source, complete a durable repair, and document results. The goal is immediate stabilization first, then permanent restoration.
A professional emergency workflow often looks like this:
- Arrival and hazard check: confirm water proximity to electrical, gas appliances, and occupied areas.
- Isolation: close the correct shutoff (meter, house main, or branch) and verify the meter stops moving.
- Controlled drainage: open low-point fixtures to reduce pressure and limit additional discharge.
- Source confirmation: acoustic/thermal/moisture diagnostics, plus selective access if needed.
- Repair and restraints: replace pipe section, add supports, and protect penetrations.
- Pressure restoration: slowly reopen supply, purge air, check for hammering and seepage.
- Documentation: photos of the repair, materials used, and testing notes for claims/records.
If the event involves repeated backups or combined water intrusion, it may be appropriate to add targeted drain work (for example, scheduling Drain Cleaning if fixtures cannot be used safely while the supply repair is underway).
Core Specs and Local Guidelines (Burst Pipe Response Table)
This table consolidates the highest-value metrics a homeowner or property manager needs during an active burst incident. It focuses on shutoff control, verification steps, repair standards, and documentation expectations commonly required for mitigation and claims.
| Feature / Metric | Specifications | Local Guidelines |
|---|---|---|
| Primary shutoff location | Meter box valve (curbside) or house main shutoff; closure should stop all indoor flow | Verify the water meter leak indicator stops moving after shutoff; keep the meter box accessible for emergency crews |
| Depressurization method | Open lowest cold-water outlet to drain lines; then open additional fixtures as needed | Turn off water heater fuel/power before restoring service to avoid equipment damage |
| Leak source verification | Acoustic detection, thermal imaging for hot lines, moisture mapping, and isolation testing | Confirm location before cutting tile/drywall when possible to minimize restoration scope |
| Repair method expectation | Remove failed section; install new copper or PEX using listed fittings; secure and protect penetrations | Work must conform to the California Plumbing Code as adopted/enforced by the local AHJ; use listed materials for potable water systems |
| Post-repair validation | Pressure restoration, visual inspection under load, and leak re-check at fixtures and exposed joints | Record meter behavior after repair; take photos of the opened area and final connection for claims |
| Documentation for mitigation/insurance | Photos/video, date/time of shutoff, affected rooms/materials, repair description, and drying actions | Maintain a single incident folder; include invoices and any moisture readings from restoration providers |
Preventing the Next Burst: Controls That Reduce Repeat Failures
Most repeat ruptures are driven by pressure, material degradation, or unrestrained movement in piping. Prevention focuses on controlling static pressure, improving system resilience, and eliminating known weak materials.
Practical prevention steps that directly reduce risk:
- Confirm static water pressure with a gauge at a hose bib; excessive pressure accelerates fixture and pipe failure and can justify a regulator evaluation.
- Address water hammer by securing loose piping and adding hammer arrestors where quick-closing valves exist (e.g., washing machine, dishwasher).
- Replace aging shutoff valves that will not fully close; a functional main shutoff is a primary loss-prevention device.
- Upgrade brittle or corroded materials when evidence shows systemic deterioration (multiple pinholes, rust scaling, repeated joint failures).
- Insulate exposed lines in garages/exterior walls where temperature swings occur, especially near vents and unconditioned spaces.
For property owners managing recurring after-hours incidents, it helps to standardize emergency procedures and ensure occupants know where the water shutoff is located and how to access the meter box.
When Burst Pipe Damage Becomes a Restoration Issue (Not Just Plumbing)
Once water has migrated into drywall, insulation, or subflooring, drying and containment becomes time-sensitive to prevent microbial growth and secondary damage. The plumbing repair stops the source; restoration addresses the wet building materials.
Indicators you should escalate to professional drying/mitigation:
- Water under flooring (laminate swelling, tile areas with damp grout lines, cupping wood).
- Wet insulation behind walls (often requires selective removal to dry properly).
- Ceiling cavities saturated from an upstairs line, even if visible dripping has stopped.
- Persistent elevated moisture after 24–48 hours despite fans and ventilation.
For broader context on the trade and systems involved in supply and drainage work, plumbing is the integrated network of pipes, valves, fixtures, and devices that distribute water and remove wastewater in buildings (plumbing).
How to Choose an After-Hours Plumber for a Burst Line (Verification Steps)
Emergency work should be performed by a properly licensed professional who can isolate, repair, and document the event without cutting corners. Selecting the right provider reduces the chance of repeat leaks, failed inspections, or claim disputes.
Use these verification steps during the call:
- Confirm they can isolate the system (meter shutoff, house main, and branch strategies).
- Ask what repair materials and joining methods they will use and whether fittings are listed for potable water.
- Request post-repair testing steps (how they confirm no active leakage under pressure).
- Ask about documentation (photos, written description of scope, and what was replaced).
- Clarify if wall/floor access is needed and how the location will be verified before cutting.
If you need a broader overview of what true after-hours stabilization typically includes—shutoff, isolation, and immediate repair protocols—see 24/7 emergency plumbing.
Stabilize Fast, Repair Correctly, Reduce Future Risk
A burst pipe event in San Diego is controlled by rapid shutoff, precise leak location, and a repair that complies with the plumbing code enforced in California. The most reliable outcomes come from limiting demolition through proper verification, replacing the failed section with listed materials, pressure-checking before close-up, and keeping clear documentation for mitigation and insurance.
When the same system shows repeated failures—especially with galvanized supply lines, slab-related leaks, or brittle CPVC near heaters—the most defensible strategy is to treat the rupture as both an emergency repair and a system assessment. That combination stops the immediate flooding and prevents the next high-loss event.
Frequently Asked Questions
Stop the Flooding Fast—Before One Burst Pipe Becomes a Full-Scale Rebuild
A burst pipe isn’t a “wait until morning” problem. In minutes, pressurized water can soak drywall, insulation, subflooring, and ceiling cavities—then you’re dealing with electrical hazards, structural damage, and mold risk on top of the plumbing repair. And the longer water runs, the more expensive (and invasive) the restoration becomes.
Trying to DIY a burst pipe—or calling a general handyman—usually backfires for a few common reasons: the wrong shutoff gets closed (or doesn’t fully stop flow), the actual rupture location is guessed instead of verified, and the “quick fix” fails under pressure because the materials or fittings aren’t approved for potable lines. The result is predictable: unnecessary demolition, repeat leaks, failed inspections, and headaches when insurance asks for documentation and proof of repair standards.
What you want instead is a licensed local plumber who can isolate the correct valve, confirm the source with proper diagnostics, complete a code-compliant repair using listed materials (copper or PEX as appropriate), pressure-check the work, and document everything clearly—so you can stop the damage now and reduce the chances of a second failure later.